INTRODUCTION
Creating a good image of a wine or other glass bottle can be a real challenge for even the most experienced product photographer and/or post production expert. This article describes one workflow for creating a wine bottle image. It is by no means a claim to be the best or only way to process a digital bottle image. For one reason, there are many variables in bottle photography including bottle shape, glass (opacity and color), label materials, cap materials, etc. So, although this work flow will provide you with a great foundation, you must always be ready to adjust to the job at hand.
This paper assumes that you (the reader) are proficient in Photoshop and the post-editing process. It does not cover the 'How-To's' of each step of the work flow as that would be better subject matter for a book. However, future articles will describe each step, and include videos and/or audio! So for now, let's get started!
1. Open Images in Camera Raw
The trick to good bottle photography is to take a bunch of photos, not just one. There are usually three parts of a bottle; the glass, the label(s), and the cap/foil. Each area normally needs its own exposure. Also, if you have multiple labels (main and neck for example), or the cap may contain writing or an image, you may need to rotate the bottle so you have an image with the label centered and another image where the cap is centered.
So, take more images than you think you will need, properly exposing for each part of the bottle. Then open these images in Camera Raw where you can select which images you will ultimately use to produce your final image.
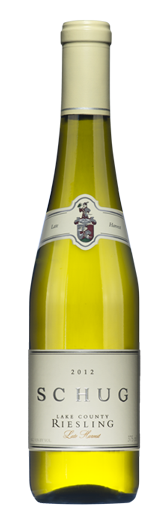
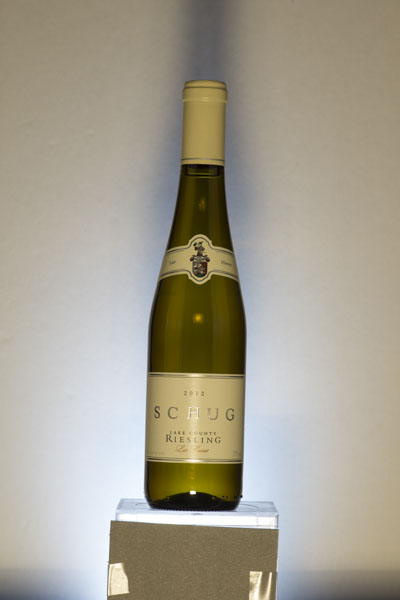
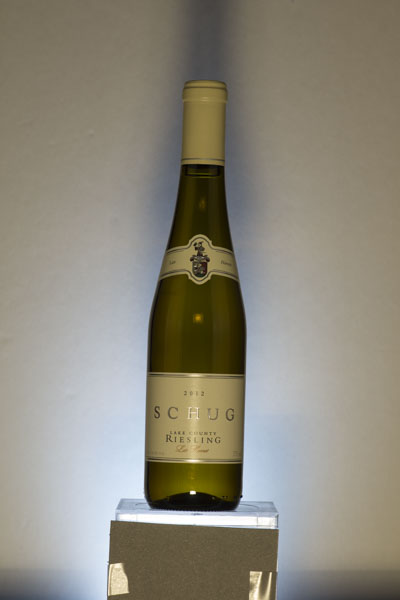
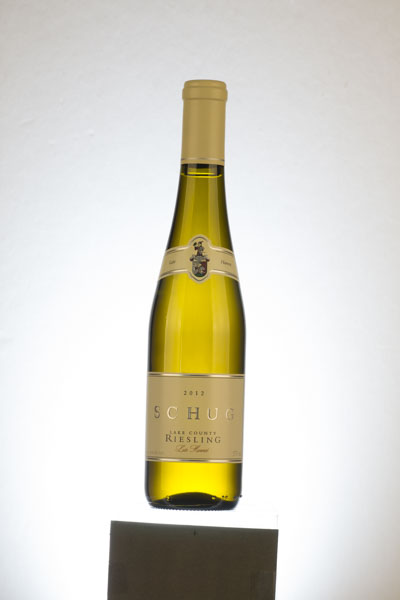
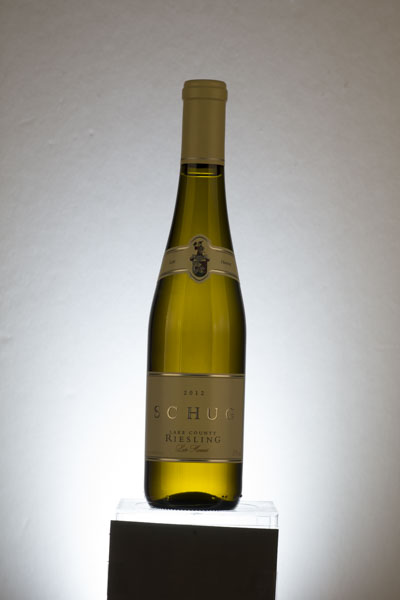
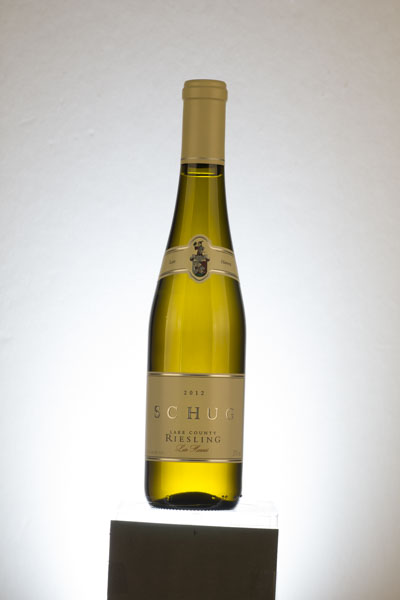
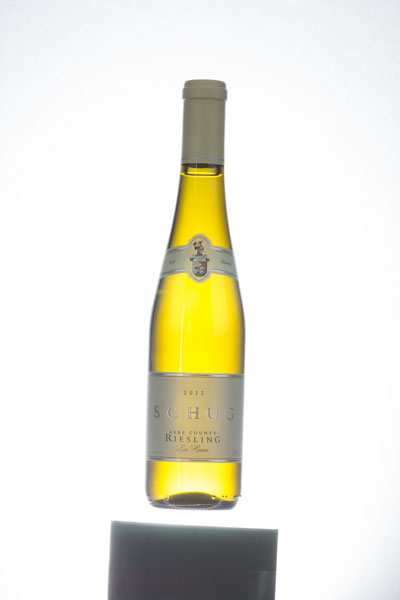
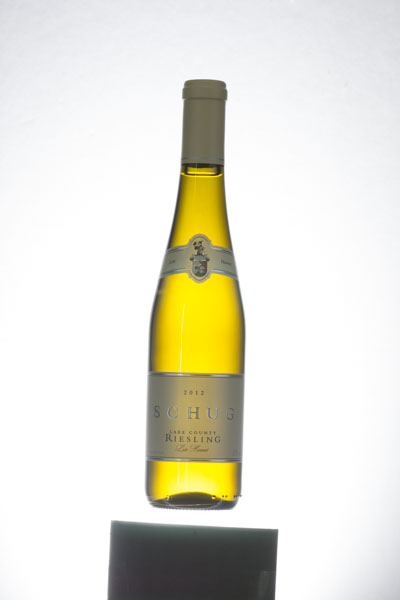
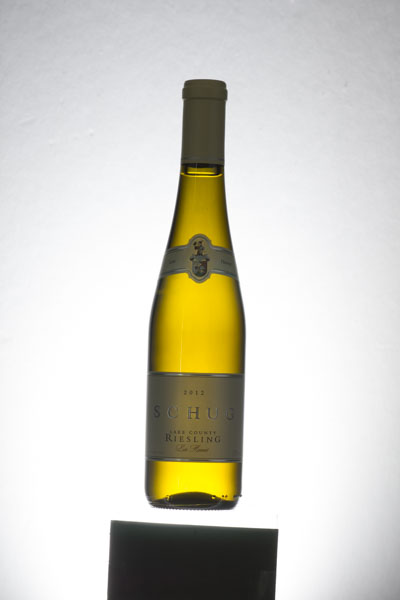
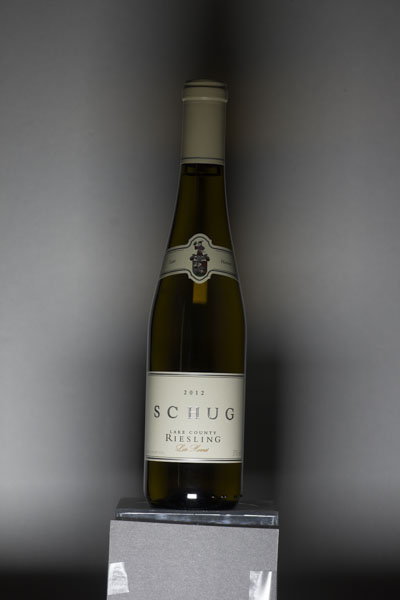
The image above was processed using the workflow described in this article from the raw images shown in the gallery (thumbnails) below. This should give you an idea of the before and after images.
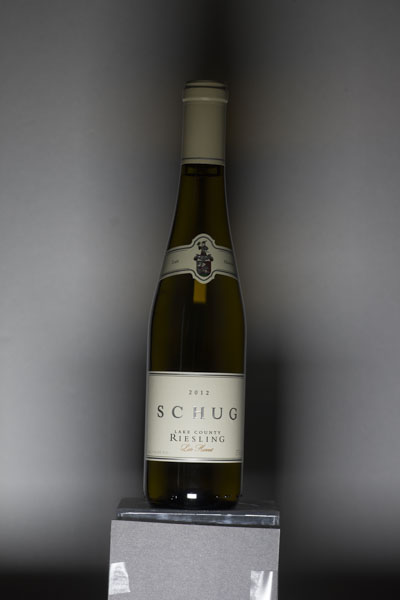
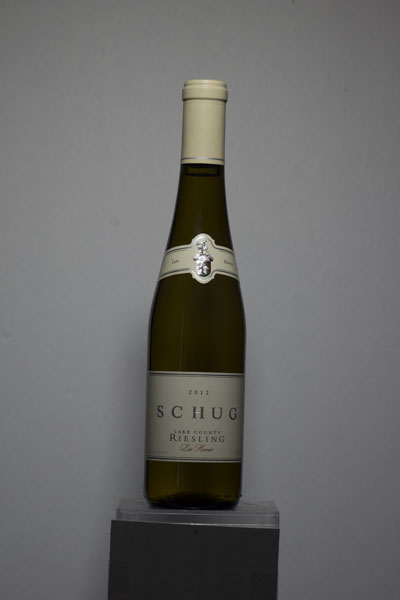
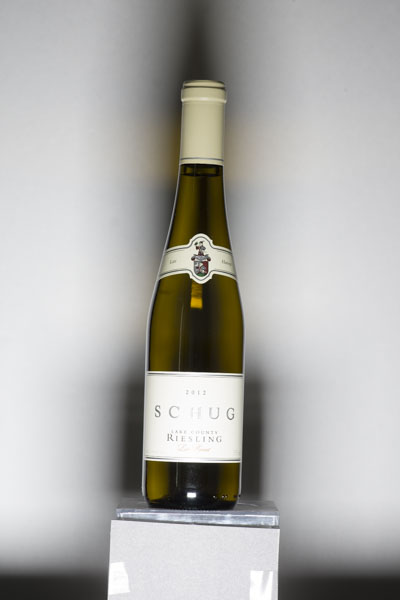
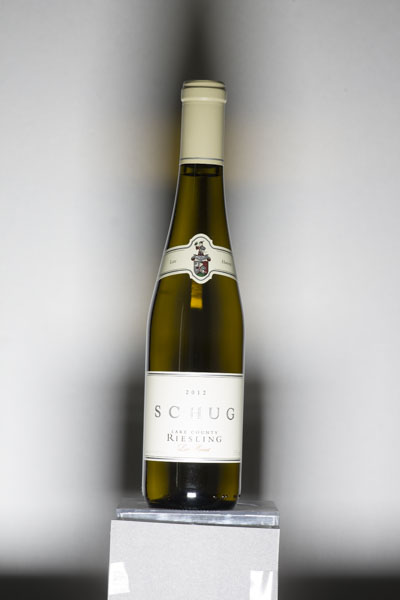
NOTE: The photography process will be discussed in a future article.
2. White Balance Images
Using a gray card makes quick work of white balancing your images. You can see the gray card taped to the special magic bottle stand (actually a simple plastic box purchased from Tap Plastics).
3. Open in Photoshop
Select the number of images you will need within Camera Raw to create a final image. The fewer the images you need the better. However, you will normally need one for each part of the bottle (glass, label, and cap.) Once you choose your images in Camera Raw you can use the Open Image button to open the files in Photoshop. However there is a better way to open the files.
BIG TIP: Instead of opening the files from within Camera Raw, open the files from
within Photoshop using File==>Scripts==>Load Files Into Stack; this will create a new .psd file and load your files into separate layers. You can even allow Photoshop to attempt to align the images for you. This can be helpful if you had to twist some of your bottles to center labels, caps, etc.
4. Combine Images Into One File
You only need to manually combine your files into a single .psd if you did not read the BIG TIP in Step 3. ;-)
5. Align Straighten & Center Images/Layers
You need to check that the bottles in your layers are aligned properly even if you told Photoshop to do this automatically. Also this is a good time to center your bottle on your page. Using the Ruler tool can help make this a quick step. Remember to select all of your layers once they are aligned so you move them all together. Or alternatively, you can Link the layers so when you move one, all will move.
6. Check & Correct for Lens Distortions
It is now time to see if your lens did its job or not? Below is a list of things to check for and the Photoshop tool that will help you correct the fault:
- Tilted bottle (left to right or right to left) - Ruler Tool + Image ==>Image Rotation
- Tilted Bottle (front to back) - Filter==>Lens Correction
- Bulging - Filter==>Lens Correction
- Chromatic aberration or color fringing - Filter==>Lens Correction
7. Create Paths & Selections
Now that the layers are all nicely arranged and aligned, it is time to segment the separate parts of your bottle. So you need to create and save Selections of the different parts of the bottle.
7.1 Bottle Glass
Select the full bottle outline Use the Pen tool to create a path of the whole bottle. Then convert that path to a Selection and save that selection. Taking the time to use the Pen tool will ensure that that your image has a nice smooth outline without those dreaded 'jaggies.'
7.2 Label
Make a selection of the label. If you like the Pen tool, go ahead and use it. However, using the Quick Select tool for the label can often save time.
7.3 Cap
Make a selection of the cap or foil. A quick way to select the cap is to make the full bottle selection active and then just use your favorite tool to deselect everything but the cap.
8. Arrange Layers
If you have not already done so, arrange your layers in the following stacking order (from top to bottom):
- Cap
- Label
- Bottle/Glass
9. Mask Bottle
Select all your layers and make your Bottle Selection active. Then just mask out the background to make it transparent! How easy is that!? You can also clear the background or Ctrl-J your selected bottle to its own layer. The choice is really yours.
10. Apply Adjustments
Even though you have different exposures for each part of your bottle, you will still probably need to make adjustments to each layer in order to make them 'just right.' But the effort you will need to put into this process should be minimal because of the little extra time you took in the prior steps.
10.1 Levels
The first adjustment is to adjust the levels
10.2 Curves
If necessary, you can make a curves adjustment. But if you used a gray card and allowed Camera Raw to nail your white balance, a curves adjustment probably will not be necessary. Yet, Curves can be very helpful if you want to adjust the colors and contrast if you might want to add some extra emphasis to your labels.
10.3 Brightness/Exposure & Other Adjustments
Sometimes other adjustments may be necessary if you want to adjust the exposure or change the color of the glass, etc. These will be dictated by the needs of each job.
11. Clean Glass
No matter how hard you try to clean your bottle before snapping your photos, there will almost always be some dust left on the glass.
TIP: a Levels adjustment can be an easy way to remove dust from your glass.
There are a number of tools that can remove dust, strange highlights and reflections that show up in your glass. Of course the most common are Photoshop's Clone and Healing Brush tools.
A list of things to check for on the glass layer include:
- Dust
- Bright Spots / Hot Spot reflections
- Strange color reflections (many time these appear around the bottom (punt) of the bottle)
- Bottle seams
- Ullage /empty space (if you want to bottle to look full)
- Production print molded into the bottle glass (normally at the base)
12. Sharpen Label
It is always a good idea to add a little sharpening to your label layer as it will add contrast to the edge of the print which will make it look in better focus. But you will probably not want to sharpen the glass or cap layers as the process can add unwanted 'noise' to the image.
TIP: Converting the label layer to a Smart Object before sharpening will ensure you can modify the amount of sharpening in the future.
13. Add Specular Highlights
A bottle will look flat without some highlights and shadows. The most common are the vertical reflections in the glass from the soft boxes commonly used when photographing the bottle. Yet a good technique is to photograph the bottle without highlights and use Photoshop to add them in post. Creating your own highlights in a separate layer in Photoshop will allow you to control their color, opacity, width, edge transition/blur, etc. In this way, the stripes or highlights can be created to look exactly like you want!
TIP: Even if the vertical highlights/reflections appear in your photo, they can many times be removed using a Levels adjustment.
14. Duplicate & Merge Layers
This step may not be necessary, but the 'Department of Redundancy Department' strongly suggests that it be done. Copy and merge your active layers into a single layer where you can make last minute fixes and adjustments. This is good practice if you need to create onetime adjustments for a specific project.
15. Save the Image
Of course you have been regularly saving your image to a .psd file, right? And you have been saving it to a Dropbox, OneDrive or other directory that automatically gets backed up to a cloud-server somewhere, right? But now it is time to save it for use in your target . Remember that .png will save the file and preserve the transparent background. And do not forget that Photoshop has its specific 'Save for web' tools to ensure that the size of the file is minimized the colors are optimized for display monitor viewing.
And one last reminder. . . do not forget to include your copyrights in your saved file!
Conclusion
So the preceding is a post-production work-flow for creating a bottle image using Photoshop and Camera Raw. It is meant to be both a starting point and a map to reduce the overall effort you will need to create a quality bottle image. More detail of each step will be covered in future articles and videos.
So there is no one best way to capture a bottle image. If you have any additional comments or ideas, please do not hesitate to contact the author or include them in a comment.